Arduino Line Follower project for kids

Arduino Line Follower project for kids

Overview

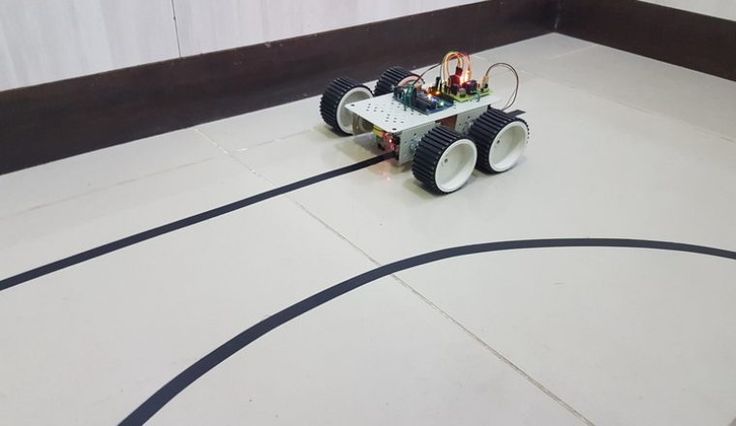
This project deals with a line follower robot that follows the human-made path. It follows the line and take turns and get stops at the position where the line ends

In this project, we have used photoresistors to sense the path motors to make the robot move an external 9v power source. When the sensor senses the path accordingly the motors rotate this is very useful for us as when we want to move a person on the same path continuously we can use this robot.

Hardware required 

  1. Arduino Uno R3
  2. Hobby Gear Motor
  3. Resistor
  4. Photoresistor
  5. Jumper Wires
  6. 9V Battery
  7. L293D

Schematic Diagram

Fig 1.  Circuit Diagram

Arduino Code : 

#define LS 2                                                                                                // left sensor
#define RS 3                                                                                            // right sensor

#define LM1 10                                                                                          // left motor
#define LM2 11                                                                                          // left motor
#define RM1 12                                                                                       // right motor 
#define RM2 13                                                                                      // right motor

void setup()
{
  pinMode(LS, INPUT);
  pinMode(RS, INPUT);
  pinMode(LM1, OUTPUT);
  pinMode(LM2, OUTPUT);
  pinMode(RM1, OUTPUT);
  pinMode(RM2, OUTPUT);
}

void loop()
{
  if(digitalRead(LS) && digitalRead(RS))                                   // Move Forward
  {
    digitalWrite(LM1, HIGH);
    digitalWrite(LM2, LOW);
    digitalWrite(RM1, HIGH);
    digitalWrite(RM2, LOW);
  }
  
  if(!(digitalRead(LS)) && digitalRead(RS))                                      // Turn right
  {
    digitalWrite(LM1, LOW);
    digitalWrite(LM2, LOW);
    digitalWrite(RM1, HIGH);
    digitalWrite(RM2, LOW);
  }
  
  if(digitalRead(LS) && !(digitalRead(RS)))                                           // turn left
  {
    digitalWrite(LM1, HIGH);
    digitalWrite(LM2, LOW);
    digitalWrite(RM1, LOW);
    digitalWrite(RM2, LOW);
  }
  
  if(!(digitalRead(LS)) && !(digitalRead(RS)))                                             // stop
  {
    digitalWrite(LM1, LOW);
    digitalWrite(LM2, LOW);
    digitalWrite(RM1, LOW);
    digitalWrite(RM2, LOW);
  }
}

Precautions

  1. Connections should be done properly.
  2. Arduino is case Sensitive so code accordingly.
  3. Give different colours to the wires.
  4. Colour coding to be followed properly.

Do you have questions regarding our STEM program?

Contact us anytime.

Take your first step into the magical world of coding for kids

Share:

More Posts

Send Us A Message

Coding For kids

Coding Courses for Kids Online

Our courses which are tailored for grades 1 to 12, and our hands-on curriculum seamlessly integrates, preparing students for challenges and inspiring the next generation.

STEM Labs

STEM LAB for Schools

If you are a school searching for a cutting-edge makerspace solution that goes beyond conventional education, look no further. Partner with Makers’ Muse to unlock a world of innovation and transformative learning experiences for your students. 

Coding Toys

STEM LAB for Schools

Discover a revolutionary coding journey for students with our cutting-edge educational toys. Partner with us to unlock innovative learning experiences that transcend traditional education.

Leave a Reply