We start with a simple project and progress to more complex ones.
PROJECT 1:- CHANGE COLOR APP
In this app, we are going to change the background color of the app screen on clicking a button.
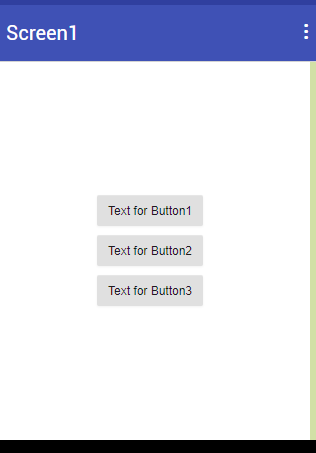
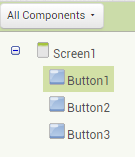
The first thing we do in this project is drag 3 buttons into the virtual phone screen from the User Interface Palette.
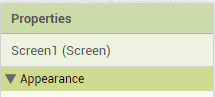
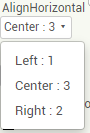
We want these buttons to be in the center of the screen so we do that by changing the alignment of the screen. This is done from the Properties panel. Make sure the Screen component is selected and then change both AlignHorizontal and AlignVertical properties to Center.

And so our buttons have been aligned to the center.
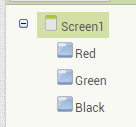
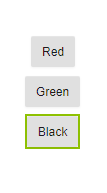
Now we need to rename these buttons with the colors we choose. So we the colors red, green and black. We go to the Components panel, choose Button1 and click on the Rename button below all our components. We type in “Red” and save it.


Similarly, we rename Button2 and Button3 as “Green” and “Black” respectively. Our component list should look like this.
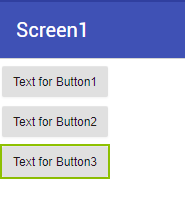
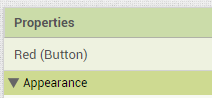
Now, if you notice, this renaming has not changed the text on the buttons on the phone screen. For that, we will need to change the Text property of each of the buttons to their respective colors.

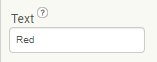
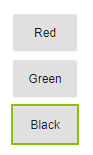
Do this with the other two buttons as well. Now this is what our buttons look like.
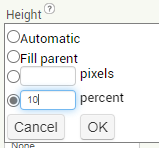
The sizes of the buttons are mismatched. By default, the height and width of components is Automatic, meaning it changes automatically as needed. However, we want to set at a solid size. We do that by changing the Height property to 10 percent and Width to 20 percent. We do this for all our buttons. And so we get buttons of uniform size.

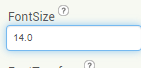
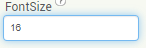
We also change the font size to 16. That is done in the Properties Panel too.
And we’re done with the designing part!!
Now its time to do some coding.
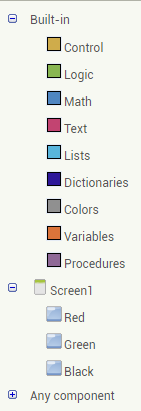
Going to the Blocks window, we see that below the built-in blocks, we now have our components as well.
Now, what we want is to change the screen background color on clicking these buttons. So first we go to the Red button blocks. We will see different blocks for the button. Since we want the action to take place on the clicking of the button, we choose the “when Red.Click” block.


Next, we put in the action supposed to take place. We want the screen’s background to change so we go to the Screen1 blocks, scroll down in its blocks and select the “set Screen1.BackgroundColor to” block. Since we are changing/setting the background color, we choose “set Screen1.BackgroundColor” instead of “Screen1.BackgroundColor”. Join it to our button block.

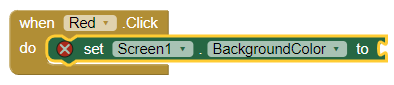
Now we need the color we want to change it to. Go to the built-in Colors blocks and select Red. Join it to the empty end of “set Screen1.BackgroundColor” block.


Similarly, we code our other two buttons, Green and Black.


That is our entire code for changing the background color. You can test it using the AI Companion option.