Arduino Tilt Sensor Project: Why Using Resistors is Essential for Sensors and LEDs
Overview
This project tells about how to use a Tilt sensor to glow an LED. This is very
useful to detect whether the sensor is tilted or not.
In this project Tilt sensor is used to detect whether the sensor is tilted or
Not if the sensor is tilted, the LED will glow.
Hardware required
- Arduino Uno R3
- LED
- Resistor
- Jumper Wires
- Tilt Sensor
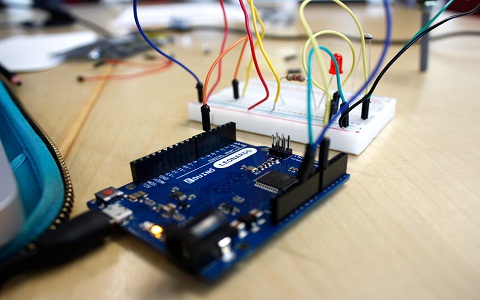
Schematic Diagram

Fig 1. Circuit Diagram
Arduino Code :
int tilt = 2; // the number of the input pin
int led = 13; // the number of the output pin

void setup()
{
pinMode(tilt, INPUT);
pinMode(led, OUTPUT);
}

void loop()
{
int reading;
reading = digitalRead(tilt);

if(reading)
digitalWrite(led, LOW);
else
digitalWrite(led, HIGH);
}
Precautions
- Connections should be done properly.
- Arduino is case Sensitive, so code accordingly.
- Give different and appropriate colours to the wires.
- Use resistors for sensors and LEDs.
Conclusion with Maker’s Muse
This Arduino Tilt Sensor Project beautifully shows how a simple idea can turn into a practical application. By detecting tilt and lighting up an LED, beginners learn how sensors interact with microcontrollers. Such small projects inspire curiosity and form the foundation for bigger innovations.
Guided by the maker’s muse, every experiment opens doors to creativity, problem-solving, and innovation. To further explore sensor-based automation, check out this resource on a light sensor with Arduino in Tinkercad. With imagination and experimentation, even the smallest sensors can light up big possibilities!