Smart Water Motor Projects for Kids
Overview
This project is about how we can solve the daily problem of wasting water due to overflowing tanks and the waste of water. Using this module, we can save a lot of water wasted daily.
In this smart water electric motor, whenever the tank has water at a certain level will turn off automatically, and whenever the water in the tank is less than the minimum level, the motor will turn on automatically.
Hardware required
- Arduino Uno R3
- Resistor
- Jumper Wires
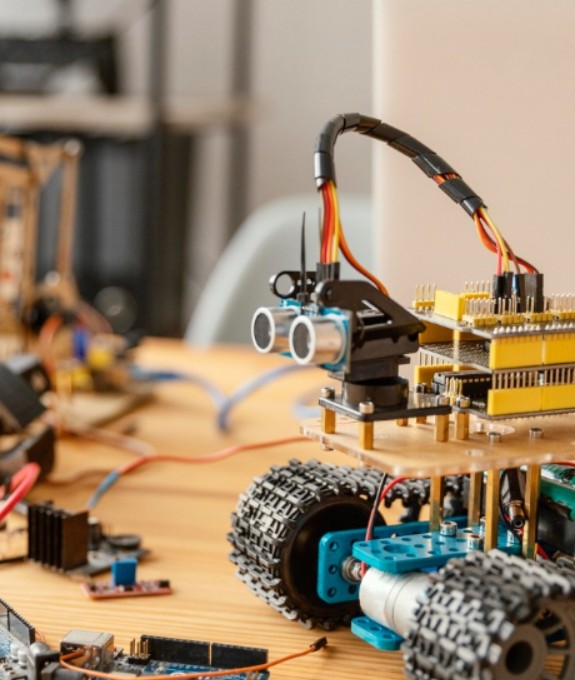
- Ultrasonic Sensor
- Breadboard
- DC Motor
- Diode
- NPN Transistor
- 9v Battery
Schematic Diagram

Fig 1. Circuit Diagram
Arduino Code :
long duration, cm, inches;

void setup() {
  Serial.begin (9600);
  pinMode(8,OUTPUT);
}

void loop()
{

  pinMode(9, OUTPUT);
  digitalWrite(9, LOW);
  delayMicroseconds(5);
  digitalWrite(9, HIGH);
  delayMicroseconds(10);
  digitalWrite(9, LOW);

  // Read the signal from the sensor:
  pinMode(9, INPUT);
  duration = pulseIn(9, HIGH);
  Serial.println(duration);
  // convert the time into a distance
  cm = (duration/2) / 29.1;
  inches = (duration/2) / 74;

  if(inches > 57){			//tank size 5 feet = 60 inch,
    digitalWrite(8, HIGH);	// start if 57 inch empty
  }else if(inches < 5)		// stop if 5 inch to fill
    digitalWrite(8, LOW);

  Serial.print(inches);
  Serial.print("in, ");
  Serial.print(cm);
  Serial.print("cm");
  Serial.println();

  delay(250);
}
Precautions
- Connections should be done properly.
- Arduino is case Sensitive, so code accordingly.
- Give different and appropriate colours to the wires.
- Use resistors for sensors and LCDs.
Conclusion
This smart water motor project demonstrates how Arduino and sensors can automate everyday tasks, like preventing tank overflow and saving water. At MakersMuse, we encourage learning through hands-on projects. Using platforms like Light Sensor with Arduino in Tinkercad, beginners and kids can easily understand electronics and coding while building practical, fun, and educational projects.