Automatic Shelter with Sunlight Control Using Arduino Uno
The automatic shelter project is designed to provide a convenient and efficient way to protect individuals from sunlight. By utilising a photoresistor sensor, the shelter automatically activates when exposed to light. In this blog post, we’ll delve into the hardware components, the circuit diagram, and the Arduino code necessary to build this innovative shelter.
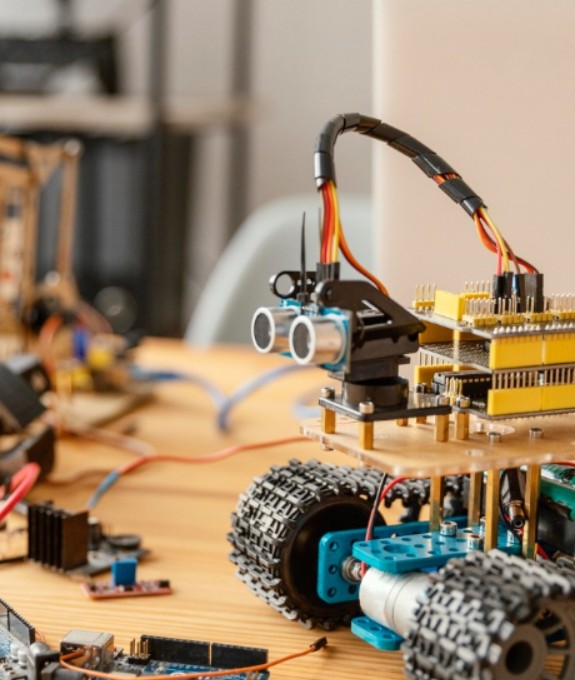
Hardware Required
To create the automatic shelter, gather the following components:
- Arduino Uno R3: The brain of our project.
- Resistor: Used in the circuit.
- Jumper Wires: For connecting components.
- Servo Motor: Controls the movement of the shelter.
- Photoresistor: Detects sunlight.
Circuit Diagram

Arduino Code
#include <Servo.h>

// Declare Servo Motor
Servo servomotor;

const int photoresistor = A0;
const int motor = 9;

int photoresistorValue = 0;
int outputValue = 0;
float nice = 0.09;
float myValue;

void setup() {
  Serial.begin(9600);
  servomotor.attach(motor);
}

void loop() {
  photoresistorValue = analogRead(photoresistor);
  myValue = float(map(photoresistorValue, 0, 100, 0, 180));
  outputValue += int(myValue - outputValue) * nice;

  Serial.print("Sensor = ");
  Serial.print(photoresistorValue);
  Serial.print("\t Output = ");
  Serial.println(outputValue);

  servomotor.write(outputValue);
  delay(10);

  if (photoresistorValue > 900) {
    outputValue = 160;
  }
  if (photoresistorValue > 700) {
    outputValue = 120;
  }
}
Precautions
Here are some important precautions to keep in mind during the project:
- Proper Connections: Ensure that all connections are made correctly.
- Case Sensitivity: Remember that Arduino code is case-sensitive.
- Colour-Coded Wires: Use different and appropriate colours for your wires.
- Resistors: Don’t forget to use resistors for sensors and LEDs.

By following these guidelines, you’ll be well on your way to creating an automatic shelter that responds to sunlight effectively. Happy building! 🌞🏠

Conclusion
The Automatic Shelter with Sunlight Control Using Arduino Uno highlights how simple components can create smart, human-friendly solutions.
By integrating a light sensor with Arduino in TinkerCad, makers can easily simulate, test, and refine their designs before building in real life.
This project demonstrates not only practical skills in wiring and coding but also the creative potential of automation to improve everyday comfort.
The journey from idea to execution reflects the true spirit of the maker’s muse: curiosity, experimentation, and innovation. With a few components and imagination, anyone can bring protective, responsive technology to life—one project at a time.