Our objective in this app is to make a canvas that we can paint on. For this, we need a few things. The colors(which we will put in buttons), a canvas to draw on, and buttons to save or clear the canvas.
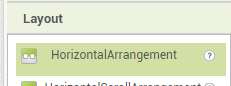
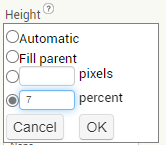
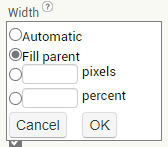
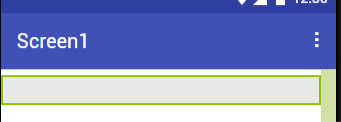
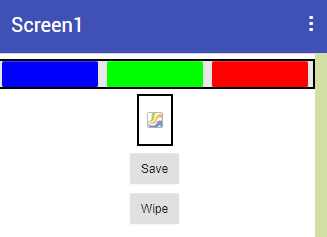
To start with we take a HorizontalArrangement from Layout Palette to put the colors in. The HorizontalArrangement layout arranges the components inside it horizontally, i.e., side-by-side. So to make sure there is enough space, we set the Width property to FillParent, which means the layout will be stretched from the left end of the screen to the right end. We also keep our Height at 7 percent.
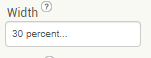
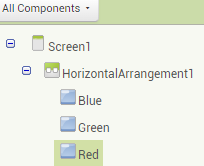
Now we place 3 buttons into the HorizontalArrangement and set their Width as 30 percent. We are also going to keep their Text properties blank. After doing so, rename them to the chosen colors. Blue, green, and red.
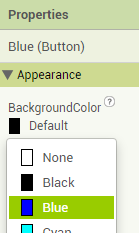
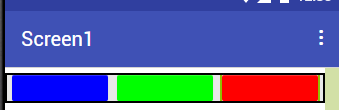
We go to the BackgroundColor property of the buttons and change the colors to their respective names.
Once this is done, we move on to placing the canvas on the screen. Drag the Canvas component from the Drawing and Animation Palette to the screen, under the HorizontalArrangement. While we’re at it, we also put 2 more buttons under the Canvas. Rename one to “Save” and the other to “Wipe”. Also change their Text property to reflect the same. So it should look something like this.
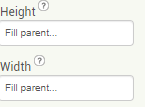
Now we set the Height and Width property of Canvas to FillParent and change BackgroundColor to Black.
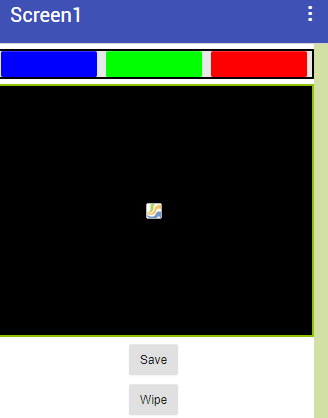
Now our design is set. We move on to our code.
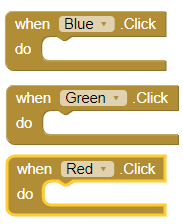
Our first step in coding would be to set the paint color on the canvas to the color button we click. So we go to Blocks view and use the “when _Color_.Click” block for all 3 color buttons.
Now to set the paint color, we use “set Canvas.PaintColor to” from Canvas blocks. We also set the colors into the empty space of the Paintcolor blocks as required.
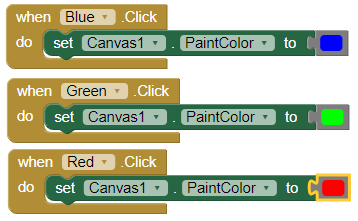
And this is the final code for our color buttons.
Next, we move to our Canvas code. For canvas, we need to create trails of chosen paintcolor when the finger is dragged on it as well as create a small dot when the canvas is touched only and not dragged.
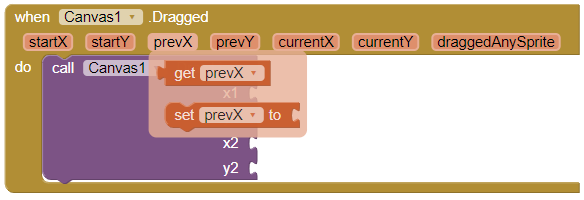
For the dragging movement, we choose the “when Canvas1.Dragged” and put in a “Call Canvas1.DrawLine” with x1, y1, x2, y2. Both of these blocks are from Canvas blocks.

Our x1 and y1 are going to be the previous points of the line we draw and x2 and y2 are going to be the point where our finger will currently be drawing. The Drawline block will draw a line between these points where the x1 and y1 will always be the point just before the current points x2 and y2. Hover the cursor above “prevX” and join the “get PrevX” block to x1. Do the same with “prevY” and y1. “get currentX” will go to x2 from “currentX” and “get currentY” to y2 from “currentY”.
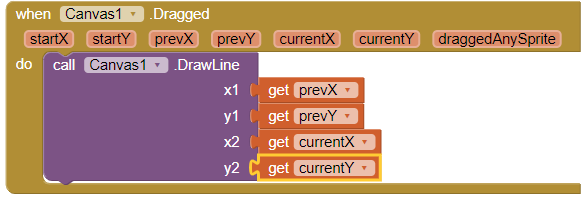
That’s our code for Canvas dragged. Now for our Canvas touch.
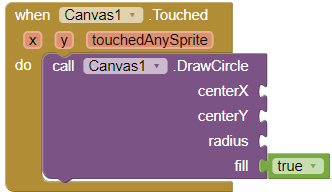
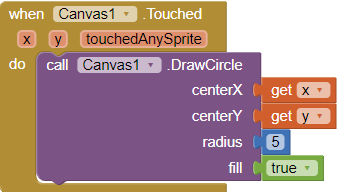
Choose “when Canvas1.Touched” and add “call Canvas1.DrawCircle” inside it.
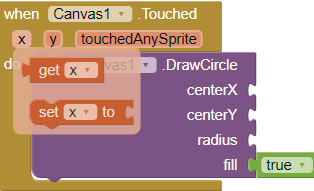
For centerX, join “get x” by hovering on the “x” on the Canvas touched block. Same with the centerY.
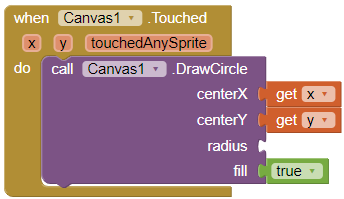
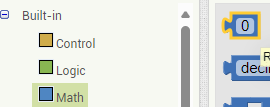
Next, for radius, we go to the built-in Math block and choose an empty number box. Fill it with the number “5”.
This is all for the Canvas code. The only remaining coding to be done is for our Save and Wipe buttons.
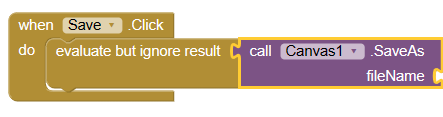
As shown before, we use “when _Button_ .Click” blocks for both buttons from their respective blocks.

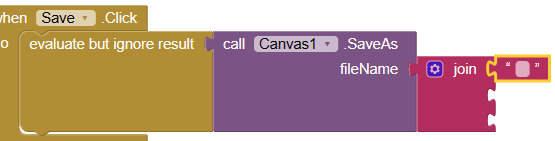
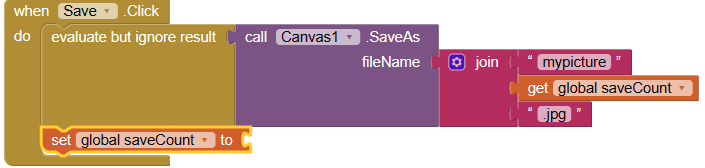
For the save button, what we will be doing is join a “evaluate but ignore result” block from built-in Control blocks. Then we’re going to add a “call Canvas1.Save As fileName” block from Canvas blocks. The “evaluate but ignore result” block provides a dummy socket for fitting a block that has a plug on its left into a place where there is no socket such as the “when Save. click” block. The block you fit in will run, but its returned result will be ignored.
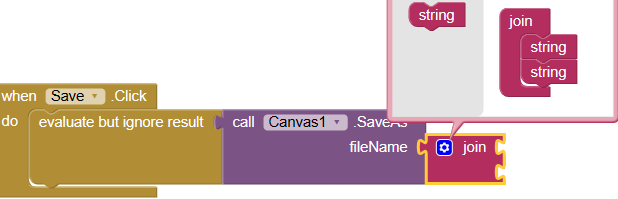
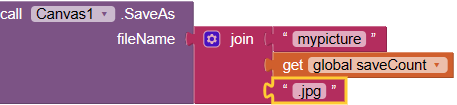
With this, we just need to give the text which we will save as a filename for each save. But if we keep using the same name, the images will be saved over each other and we will effectively only have the last saved image. So what we will do is, make a new variable “global saveCount” which will keep track of how many images have been saved and provide the same number to add behind the common file name. We take a “join block” to add the changing numbers to the text.
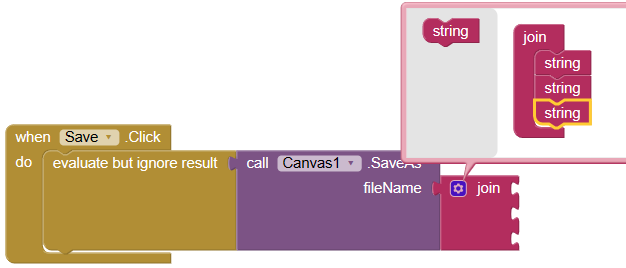
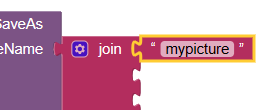
The “join block” from built-in Text blocks is used to join different texts to be shown in one component altogether. Make sure it has 3 empty spaces by clicking on the little gear button on the “join” block and dragging another “string” block into the stack. Add in an empty textbox in the first empty space from Text blocks and write “mypicture” in it.
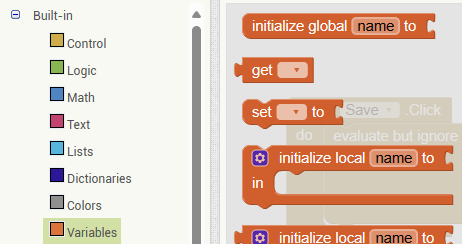
Our next course of action is going to be creating our variable “global saveCount”. Go to built-in Variables blocks and choose the “initialize global name to” block. But instead of “name” we’re going to fill in “saveCount” and add an empty number block from Math to the empty space and keep it to 0.

Once this is done, we take another variable block “get ___ “ block as seen above, and choose “global saveCount” from its dropdown menu. Add this to the second empty space in the “join” block.

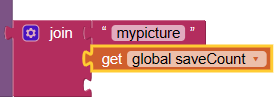
We will fill the last empty space in the “join” block with another empty text box and this time write the extension with which to save the image, which would be the “.jpg” extension.
With that done, we now want to increase the “global saveCount” every time an image is saved. So we add a “set __ to” Variables block under the ”evaluate but ignore result” and choose the “global saveCount” option like in the “get” block.
Next, we join an addition block from Math blocks to the “set “ block.

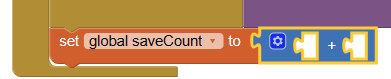
Our first operand will be the “get global saveCount” block and since we want to increase the count by 1, we have “1” as the second operand. We put in the “1” using an empty number block from Math.

And we’re done with the Save button. This code will save your image with the filename “mypicture0.jpg”, “mypicture1.jpg” and so on.
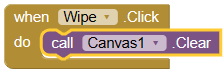
Lastly, we have our Wipe button. We have the “when Wipe. Click” block already. Now we just add the “call Canvas. Clear” block from Canvas and voila! Our Wipe button code is done!
With this, we are also finished making our Paint app. Enjoy!!