Our last game is the snake game. In which the snake chases an apple around the screen to eat it, with the player controlling its movements using buttons.
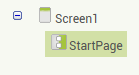
In this game, we will have multiple pages, meaning we will be redirecting the user from one page to another with click of a button. We will have 3 pages or screens. The first will be our Start page, the second will be the game screen itself and the last one will be the Game Over page.
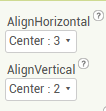
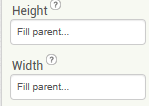
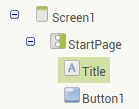
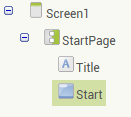
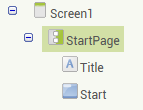
We’re using multiple VerticalArrangement layouts as screens/pages in this app. So to start with, we add in a VerticalArrangement layout and set its dimensions to FillParent. Rename it to StartPage. Set its AlignHorizontal and AlignVertical to Center.
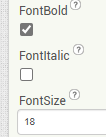
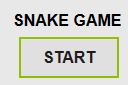
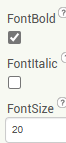
This is meant to be our Start page so we need the title of the game as well as a Start button. For the title, we take a Label and for the Start button, a button. Rename the Label as Title and change text to “Snake Game”. Font should be bold and font size should be 18.
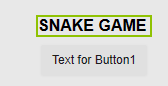
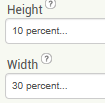
Thats all for our title label. We move on to the button. Rename it to “Start” and change its text to the same. Set its font bold and size 18. Set height to 10percent and width to 30 percent.

You can change the background color of the Start Button and VerticalArrangement as per your choice.
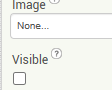
With our StartPage done, we now move on to making the GameScreen page. For this, we are going to need to make our StartPage invisible. Select StartPage from Components panel and scroll down to find the “Visible” property in Properties panel and uncheck it. This will make the screen invisible and give us our blank screen again.
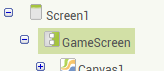
We put in another VerticalArrangement layout for our GameScreen. Set Height and width to FillParent. Both alignments to Center. Rename it to GameScreen.
Now for our GameScreen, we need a space for our snake to move around in, a space for buttons to be situated for control and a space for score to be displayed as well. Those are 3 different spaces to be created. Two for static components and one for dynamic, i.e., moving components.
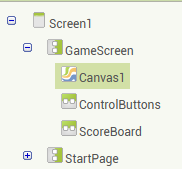
So for our dynamic components, we use Canvas. Place it inside the VerticalArrangement. Below it, place 2 HorizontalArrangement layouts. Rename the first one to “ControlButtons” and the other to “ScoreBoard”. Keep both HorizontalArrangement layout height to 15 percent and width to FillParent. Then change Canvas height and width to FillParent.
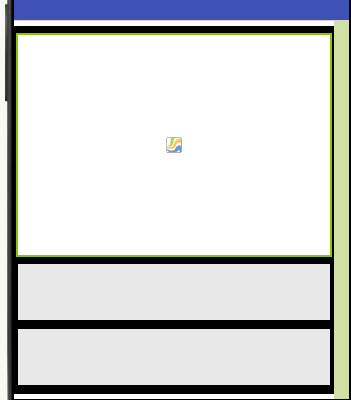
Change BackgroundColor of all three components to Black.
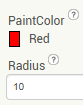
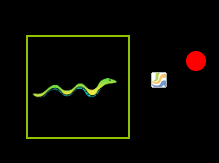
Now we will start putting in our smaller components. Place an ImageSprite in the Canvas as well as a Ball component. Both from the Drawing and Animation Palette. Choose Red as the BackgroundColor for Ball and change the Radius to 10.

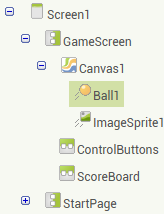
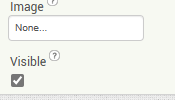
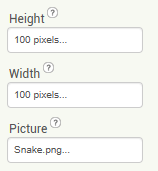
Download an image of a snake and upload it to the ImageSprite via Picture property. Set the Height and Width to 100 pixels.
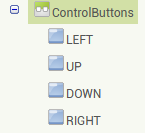
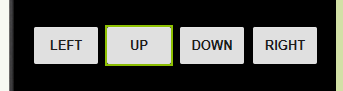
Thats all for now for our Canvas. Next we place our buttons in ControlButtons. Set ControlButtons alignments to Center. We take four Buttons for the four directions and put them in. Set their Height to 10 percent and Width to 20 percent. Rename them “LEFT”, “UP”, “DOWN” and “LEFT” in that order. Change their text accordingly and set Font size to 15 and Bold.
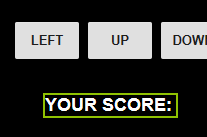
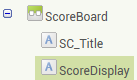
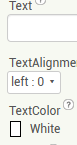
Thats our ControlButtons design done. Lastly, we have our ScoreBoard. We just need to put in two Labels. Set the first label as SC_Title, font bold and size 20 with its text being “YOUR SCORE:”


Rename the other label to ScoreDisplay. Set its Properties settings the same as the first label but keep its text property blank.
And we’re done designing the GameScreen page. And now we are left with our GameOver screen to design. It is simple since we only need a “Game over” label and a Restart button.
As with before, we set the GameScreen Visible property to unchecked.

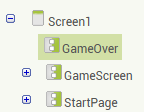
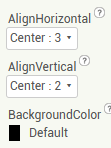
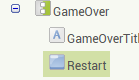
Add a VerticalArrangement and rename it “GameOver”. Dimensions set to FillParent and Alignments set to Center. BackgroundColor to Black.
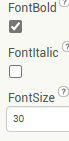
Place in a Label and a Button. In that order. Rename Label to “GameOverTitle” and text to “GAME OVER”. Font bold and size 30.
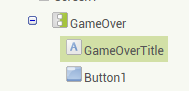
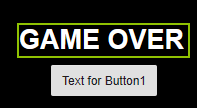
As for the Button, rename it to “Restart” and change its text to the same. Font bold and size 15.

And thats our design done! Make sure to uncheck the Visible property of GameOver screen and check the Visible property of StartPage.
Finally we get to the coding blocks part of the game.
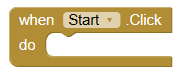
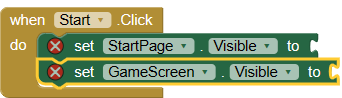
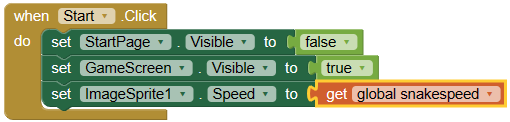
First of all, we need to code the Start button to set the visibility of StartPage to false and visibility of GameScreen to true. So we take “when Start.Click” block and join “set StartPage.Visible to” block as well as “set GameScreen.Visible to” blocks from their respective blocks.
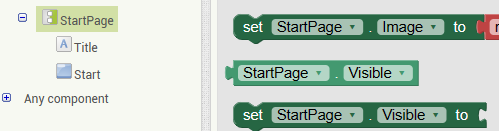

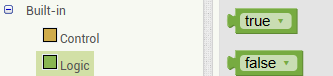
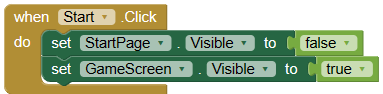
Now to set true or false blocks, we go to built-in Logic blocks and join the true and false blocks accordingly. The “false” block when set with Visibility property means the component will no longer be visible. Conversely, “true” block used with Visibility means that the component will be visible. Our code should make StartPage invisible and GameScreen visible.
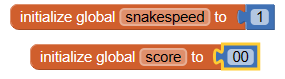
We come to one thing now. We need to set the speed of the snake and the score. So we make variables for both of these things. For speed, we make the variable “global snakespeed” and initialize it to 1. For score, we create variable “global score” and initialize to 0. We use the empty number blocks from Math to set these initial values.
Now along with setting visibility for screens, we also need to set the speed we have chosen to the snake imagesprite. So in the Start.Click block, we put in “set ImageSprite1.Speed to” block from ImageSprite blocks and join the “get global snakespeed” block from variables.

That is our Start button done. Next we code our direction buttons. For all our buttons, we choose the “when _button_.Click” block.
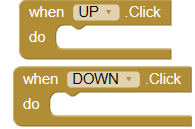
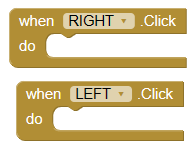
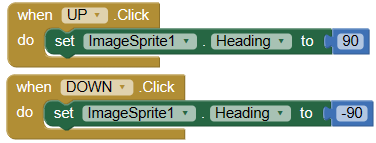
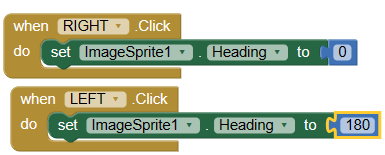
Now we join the “set ImageSprite1.Heading to” block from ImageSprite blocks to all our button code.

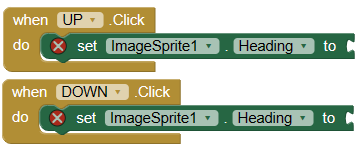
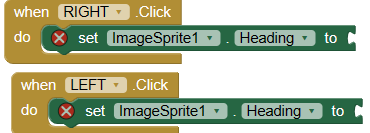
These will change the heading, i.e., the direction in which the snake moves. We use angles to indicate which direction to face. We do so by using the empty number blocks and filling in the angle degree. “UP” will be “90”, “DOWN” will be “-90”, “LEFT” will be “180” and “RIGHT” will be “0”.
And thats our control buttons done.
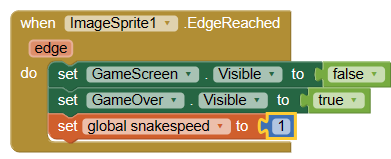
Now we need to code what would happen if snake touched the edge of the screen. It should be game over. So to do that, we take the ImageSprite block “when ImageSprite1.EdgeReached” and attach the blocks needed to make the GameScreen invisible and the GameOver screen visible, as we did something similar above. Along with that, we also reduce the snake speed back to its starting speed of “1”.
Now all we have left to code is what happens when the Ball is touched and the restart button.
For the Ball touched code, we take the “when Ball1.CollidedWith” block which checks if Ball has bumped into another component. This block is from the Ball1 blocks. Then we add a “call Ball1.Move to” and we attach the Math blocks “random integer from 1 to 500” to both empty spaces “X” and “y”.
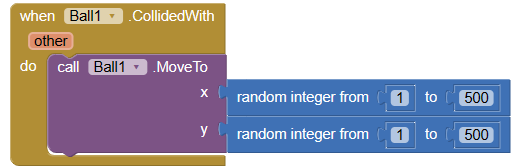
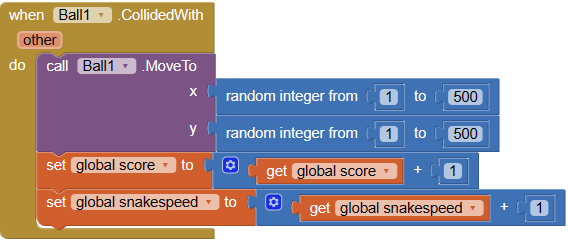
This will move the ball to a random spot on the canvas if something touches it. Along with this, we also need to increase the score as well as speed of the snake. And set the text of the scoreboard. For the increase in score and snakespeed, join the “set score to” and “set snakespeed to” blocks to Ball.CollidedWith block.

Since we want to increase the count, we attach the Math addition blocks to both with the first operand being the variable to be increased and the second operand being “1” in an empty number block.
We also need to set the text of the scoreboard to display the scores. So we join the “set ScoreDisplay.Text to” block from ScoreDisplay blocks. And we attach the “get global score” block with it.

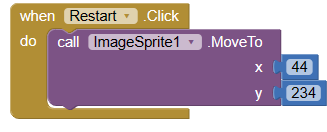
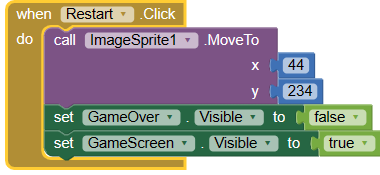
Lastly, we code our Restart button. Same as usual, “when Restart.Click” block and attach a “call ImageSprite1,MoveTo” ImageSprite block. For “X”, fill in the number “44”. “234” for “Y”.
That done, we just need to change the visibility from GameOver screen to GameScreen over.
We’re finished with our game!