How to Make an Animation with Visual Coding Tools
Creating animations is no longer limited to professional designers or programmers. With the rise of visual coding tools and easy design platforms, anyone can create engaging animations without writing complex code. Whether you are a student, beginner, or content creator, tools like Scratch and Canva make the process simple, fun, and creative. In this blog, we will walk through step-by-step how to make an animation using visual coding tools and design platforms in a clear and easy way.
Develop Your Idea
Every good animation starts with a simple idea. Before opening any tool, think about what you want to create. It could be a short story, a fun character animation, an educational concept, or even a small game-like scene. Try to keep your idea simple, especially if you are a beginner.

Ask yourself a few questions:
What is the story or message?
Who are the characters?
What actions will happen?
Having a clear idea will help you stay focused and avoid confusion while building your animation.
Set Up Your Stage
Once your idea is ready, the next step is setting up your stage. The stage is the background where your animation takes place. In visual coding tools like Scratch, you can choose from built-in backgrounds or upload your own images.
For example, if your animation is about a park scene, you can select a park background. If it’s a space story, you can choose a galaxy theme. The stage sets the mood of your animation and makes it more engaging for viewers.
Position Your Sprites
Sprites are the characters or objects in your animation. After selecting your background, you need to add and position your sprites on the stage.
You can choose from a library of characters or create your own. Once added, adjust their size and place them in the correct position. For example, if your story has two characters talking, position them facing each other.
This step is important because it defines how your animation will look visually before adding movement.
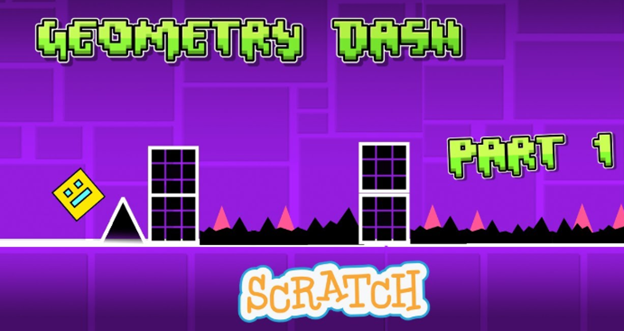
Add Code Blocks
This is where the real magic happens. Visual coding tools use drag-and-drop code blocks instead of typing code. These blocks control how your sprites behave.

You can add blocks to:
Make characters move
Add dialogue using “say” blocks
Create actions like jumping or dancing
Control timing with wait blocks
For example, you can create a simple animation where a character walks across the screen and says something. You just need to combine motion, looks, and event blocks in a logical order.
This step helps you understand basic programming concepts like sequence, loops, and events in a very easy way.
Using Visual Design Platforms (Canva)
Apart from coding tools, visual design platforms like Canva also allow you to create animations easily. These platforms are perfect if you want to design animated presentations, social media posts, or simple visual stories without coding.
Canva provides ready-made templates, elements, and animation effects that make the process faster and more creative.
Create a Design
Start by choosing a design template or creating a blank canvas in Canva. Depending on your goal, you can select formats like presentations, videos, or social media posts.
Add a background that matches your idea. It could be a simple colour, gradient, or image. Canva makes it easy to experiment with different styles until you find what looks best.
Add Elements
Next, add elements such as text, icons, images, or illustrations. Canva has a large library of free and paid resources that you can use.
For example, if you are creating an educational animation, you can add headings, shapes, and diagrams. If it’s a fun animation, you can include characters, stickers, and creative text styles.
Arrange the elements properly so that your design looks clean and easy to understand.
Animate the Elements
Now comes the animation part. Canva allows you to animate each element with just a few clicks. You can apply effects like fade, slide, bounce, or zoom.

For example:
Text can appear with a fade-in effect
Images can slide into the screen
Icons can bounce to grab attention
These animations make your design more dynamic and engaging without requiring any coding knowledge.
Export
After completing your animation, the final step is exporting it. Canva allows you to download your project in different formats, such as MP4 video or GIF.
Choose the format based on where you want to use the animation. For social media, a short video or GIF works best. For presentations, you can keep it as a video or a slideshow.
Make sure to preview your animation before exporting to ensure everything works smoothly.
Conclusion
Creating animations with visual coding tools and design platforms is easier than ever. By following simple steps like developing an idea, setting up your stage, positioning sprites, and adding code blocks, you can create interactive animations using tools like Scratch. At the same time, platforms like Canva help you design and animate visuals quickly without coding.
These tools are perfect for beginners because they focus on creativity rather than technical complexity. With practice, you can improve your skills and create more advanced animations. The key is to start simple, experiment with ideas, and enjoy the process of bringing your imagination to life.