Embark on an Exciting Coding Adventure: Creating a Jumping Game in Scratch
Join us as we break down this project into exciting steps that will have you mastering the art of game development in no time:
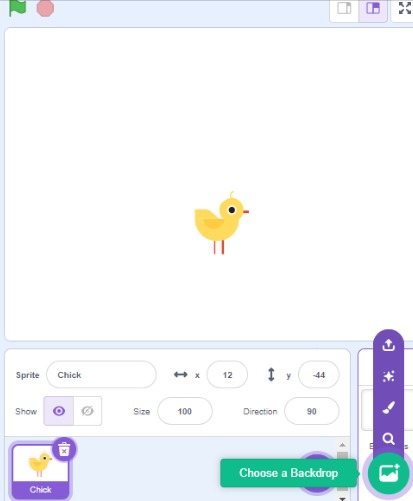
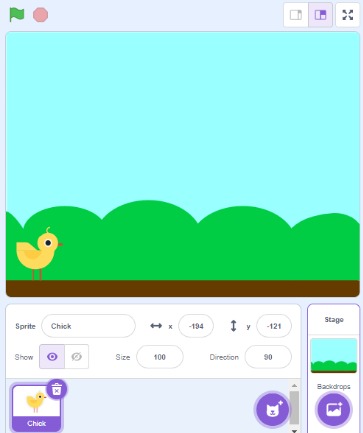
Step 1: Designing the Jumping Character
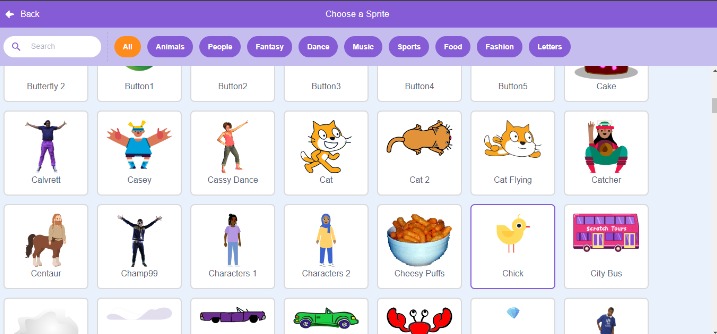
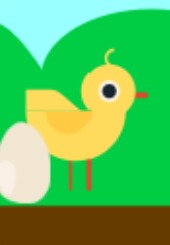
Say goodbye to the old and hello to the new! We’re starting fresh by selecting a vibrant character sprite to be our star. With a simple click of the trash button,
we bid farewell to the old character and welcome in the new. Choosing a sprite that resonates with you is the first step to bringing your game to life.
Don’t forget to add a captivating backdrop to set the stage for your game’s journey.
Step 2: Making the Character Jump
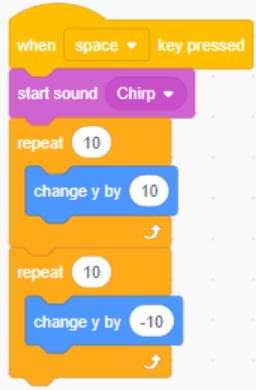
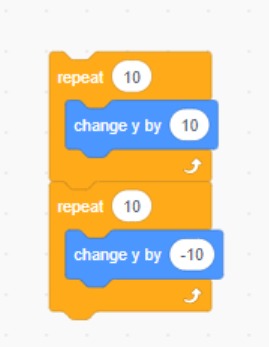
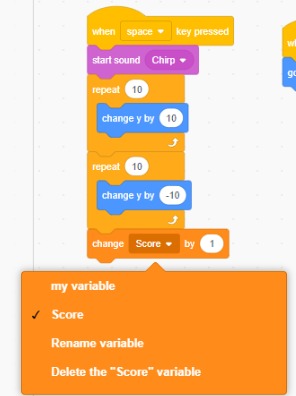
With our character in place, it’s time to make them spring into action! Positioning our Character at the starting point, we initiate the jump action with a simple command. By utilising the “Change y by __” block, we lift our character skyward on the y-axis,
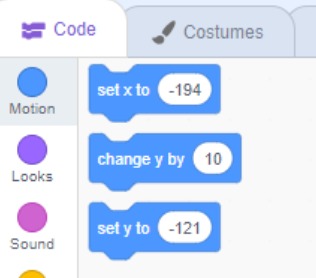
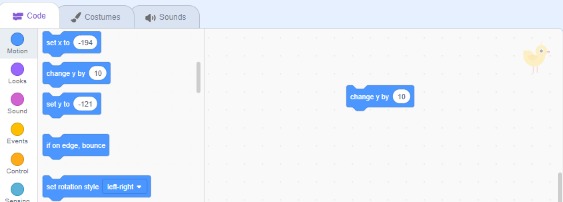
giving them the ability to leap with gusto. To ensure a lofty jump, we employ a “repeat” block, amplifying the upward motion. And to add a touch of charm, we incorporate a delightful chirping sound to accompany each leap.
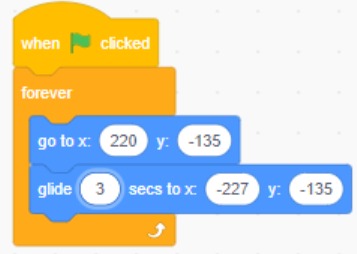
Step 3: Introducing Moving Obstacles
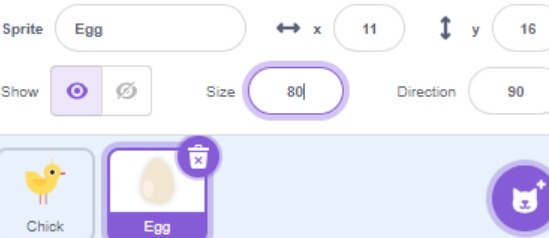
No adventure is complete without obstacles to overcome! We introduce dynamic obstacles into our game by selecting a suitable sprite and resizing it to create a challenge for our jumping Character.
Guiding our obstacles from the right side of the screen to the left, we use the “glide to” block to set their trajectory. With careful planning, we ensure a seamless flow of obstacles, adding an element of thrill to the gameplay.
Step 4: Halting the Game
Safety first! We implement a failsafe mechanism to halt the game when our daring Character collides with an obstacle.

By employing the “wait until” block alongside the “touching __?” command, we create a condition that triggers the game to come to a stop upon collision. With a simple “stop all” command, we ensure a swift conclusion to the game, keeping our character out of harm’s way.
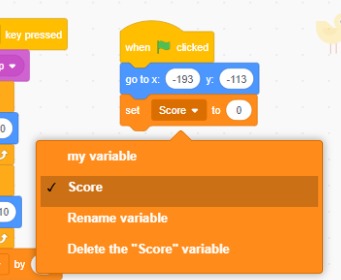
Step 5: Keeping Score
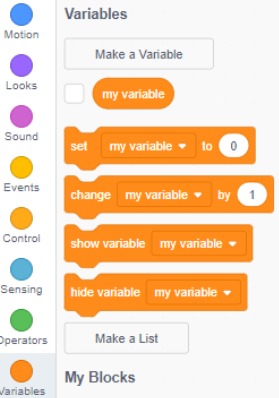
Every victory deserves recognition! We introduce a scoring system to celebrate our players’ accomplishments. By creating a variable aptly named “Score,” we track our player’s progress throughout the game. With each successful jump, our score climbs higher, offering a sense of achievement.
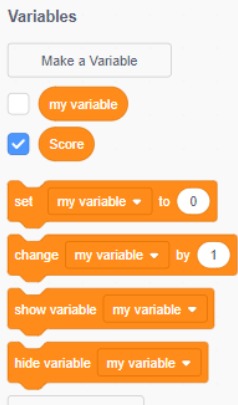
And to maintain fairness, we reset the score with each new game, ensuring a fresh start for every aspiring gamer.
Conclusion: Enjoy the Adventure
And there you have it! With these steps, you’ve unlocked the key to creating your own jumping-character game.
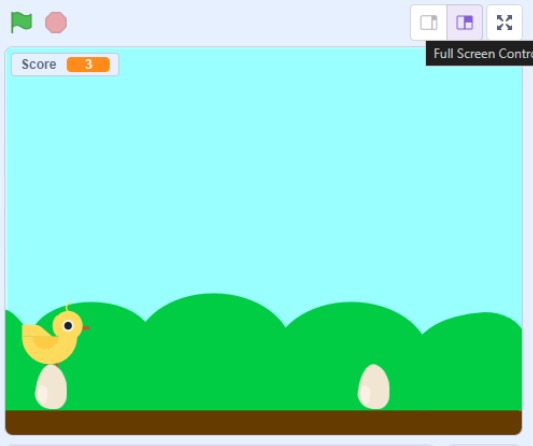
So go ahead, dive in, and experience the thrill of game development firsthand. Don’t forget to maximise your enjoyment by playing in full-screen mode. Let the adventure begin!