 Written by
Laiba Arif
·
Written by
Laiba Arif
·
Chemistry Experiments For Kids: A Complete Guide
Chemistry experiments for kids give your child a real reason to get curious about the world. Instead of reading about a reaction in a textbook, your child mixes it, watches it, and asks why it happened. That question-first approach is exactly how real scientists think, and it works just as well at your kitchen counter as it does in a proper lab.
This guide walks you through 10 safe, low-cost activities you can run at home this weekend, along with the scientific method behind them and safety tips to follow every time. Whether your child is five or fifteen, there’s something here for them to try.
Importance of Chemistry Experiments For Kids
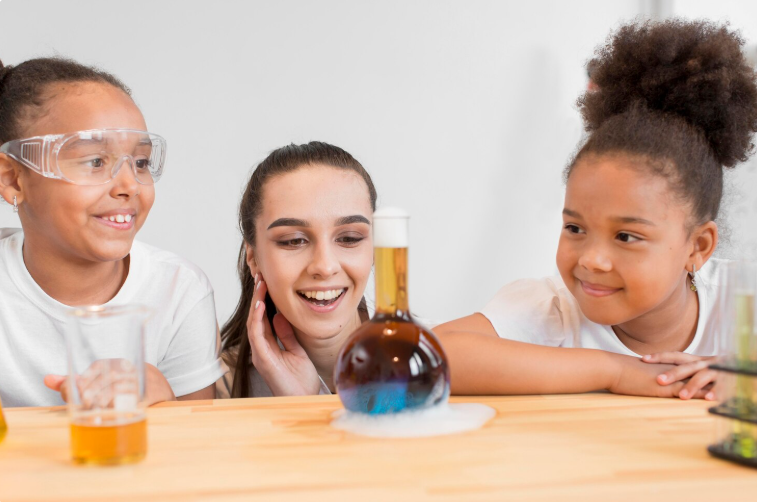
Chemistry experiments for kids are controlled, safe tests of how chemicals behave together. Your child starts with a question. They predict an outcome, then check if they’re right.
Each round of chemistry experiments is small enough to finish in under thirty minutes.
Every good chemistry experiment includes:
- A hypothesis – your prediction before you start
- A procedure – the exact steps you follow
- A variable – the one thing you change on purpose
- A control – your unchanged baseline for comparison
- A result – what you actually observe
These five parts turn any messy activity into real chemistry experiments for kids.
Scientific Method Behind Chemistry Experiments For Kids
You don’t need a lab coat to think like a scientist. Chemistry experiments for kids just need this process:
- Ask a question you actually want answered.
- Predict an outcome before you touch anything.
- Design your steps and gather materials.
- Run the experiment and watch closely.
- Record your results, even the messy ones.
- Compare results to your original prediction.
This six-step process works for any chemistry experiment you run. It’s the backbone of real scientific thinking.
Safety Tips Before Chemistry Experiments For Kids
- Always work with an adult present.
- Choose a space with good airflow.
- Keep gloves and eye protection nearby.
- Never taste an ingredient mid-experiment.
- Clean your surface before and after.
- Read every step before running chemistry experiments for kids.
Follow these rules, and chemistry experiments for kids stay safe and stress-free. Even the simplest activity deserves full attention from start to finish.
10 Chemistry Experiments For Kids You Can Try Today
Each of these chemistry experiments for kids uses items already in your kitchen. Follow the format, then explore why the reaction happens.
Chemistry Experiment 1: Magic Milk
Materials you’ll need:
- A shallow dish
- Whole milk
- Food coloring
- Dish soap
- A cotton swab
Steps you’ll follow:
- Pour milk into your dish.
- Add drops of different food colouring on top.
- Dip your swab in soap.
- Touch the swab to the milk’s surface.
Why it happens: Soap breaks the fat molecules in milk apart. The scattering fat drags the colouring along. You’re watching surface tension collapse in real time.
Chemistry Experiment 2: Baking Soda Volcano
Materials you’ll need:
- Baking soda
- White vinegar
- Dish soap
- Red food colouring
- A narrow container
Steps you’ll follow:
- Add baking soda to your container.
- Mix vinegar, soap, and food colouring separately.
- Pour the mixture in and step back.
Why it happens: Vinegar is an acid, baking soda is a base. Together, they release carbon dioxide gas fast. That gas has nowhere to go but up.
Chemistry Experiment 3: Invisible Ink
Materials you’ll need:
- Lemon juice
- White paper
- A cotton swab
- A warm iron
Steps you’ll follow:
- Dip your swab in lemon juice.
- Write a message on your paper.
- Let it dry fully.
- Iron the paper on low heat.
Why it happens: Lemon juice weakens paper fibres invisibly. Heat oxidizes those weak spots faster than the rest. Your message turns brown before your eyes.
Chemistry Experiment 4: Rainbow Density Jar
Materials you’ll need:
- A tall, clear glass
- Honey
- Corn syrup
- Water
- Vegetable oil
- Rubbing alcohol
- Food coloring
Steps you’ll follow:
- Pour honey in first.
- Add corn syrup, then colored water.
- Layer oil next, then alcohol last.
- Pour slowly down the glass wall.
Why it happens: Every liquid here has a different density. Heavier liquids sink below lighter ones automatically. You end up with visible, stacked layers.
Chemistry Experiment 5: Homemade Slime
Materials you’ll need:
- White school glue
- Water
- Borax or contact solution
- Food colouring, optional
Steps you’ll follow:
- Mix glue with warm water.
- Dissolve borax in a separate cup.
- Combine both slowly while stirring.
- Knead until it feels stretchy.
Why it happens: Glue is made of loose polymer chains. Borax links those chains together at multiple points. You’ve created a brand-new, stretchy material.
Chemistry Experiment 6: Dancing Raisins
Materials you’ll need:
- A glass of clear soda
- A handful of raisins
Steps you’ll follow:
- Drop raisins into your soda.
- Watch them sink and rise.
Why it happens: Bubbles cling to a raisin’s wrinkled surface. That buoyancy lifts the raisin toward the top. Bubbles pop, then the raisin sinks again.
Chemistry Experiment 7: Fireworks In A Jar
Materials you’ll need:
- A clear jar
- Water
- Vegetable oil
- Food coloring
- An effervescent tablet
Steps you’ll follow:
- Fill your jar two-thirds with water.
- Add a layer of oil on top.
- Drop coloring into the oil.
- Add a crushed tablet and watch.
Why it happens: The tablet reacts with water below the oil layer. Rising gas bubbles pull colored droplets upward with them. You get a slow-motion fireworks show.
Chemistry Experiment 8: Lemon Battery
Materials you’ll need:
- A lemon
- A copper coin
- A galvanised nail
- A small LED bulb
Steps you’ll follow:
- Push the coin into the lemon.
- Push the nail in nearby, not touching.
- Connect both to your LED bulb.
Why it happens: Copper and zinc react differently inside the lemon’s acid. That difference pushes electrons through your circuit. Your lemon just generated real electricity.
Chemistry Experiment 9: Cabbage Juice Colour Test
Materials you’ll need:
- Red cabbage
- Boiling water
- Household liquids to test
- Small clear cups
Steps you’ll follow:
- Boil cabbage to make purple juice.
- Pour juice into separate cups.
- Add a different liquid to each.
- Watch the color shift.
Why it happens: Cabbage contains a pigment that reacts to pH. Acidic liquids turn it pink or red. Basic liquids push it toward blue or green.
Chemistry Experiment 10: Gummy Bear Osmosis
Materials you’ll need:
- Two gummy bears
- Plain water
- Salt water
- Two small bowls
Steps you’ll follow:
- Drop one bear into plain water.
- Drop the other into salt water.
- Check both after a few hours.
Why it happens: Water moves toward the saltier side naturally. Your plain-water bear swells as it absorbs liquid. Your salt-water bear shrinks as it loses liquid.
All ten of these chemistry experiments for kids work just as well in a classroom as they do at home.
Why A STEM Enabled School Needs Regular Chemistry Experiments For Kids
A STEM enabled school treats science as something you do, not just read. Students remember reactions they experimented with themselves far longer than facts they memorised. That’s exactly why chemistry experiments for kids belong in every classroom, not just the science lab.
Benefits your school will notice:
- Stronger retention of core concepts
- Better performance on CBSE practical exams
- Early comfort with interdisciplinary thinking
- More frequent chemistry experiments for kids across every grade
Pair your CBSE STEM lab setup with one new round of chemistry experiments for kids each term. That rhythm alone shifts how your students see science.
Conclusion
You don’t need advanced equipment to think like a scientist. Regular chemistry experiments for kids build curiosity faster than any textbook chapter. Try one this week, and see what your child discovers.
Keep a small shelf of basic supplies on hand, so your next round of chemistry experiments for kids is never more than a few minutes away.
Frequently Asked Questions
What's the easiest option among the chemistry experiments for kids for beginners?
The baking soda volcano is one of the best experiments for kids because it needs only two kitchen staples: baking soda and vinegar. The acid-base reaction fizzes up quickly and looks dramatic, but it’s completely safe under supervision, making it a reliable first pick even for children as young as five or six.
Can chemistry experiments for kids be done without a lab?
Yes, and most of them are designed that way. A kitchen counter, a few basic supplies, and a wipeable surface are usually all you need. Reactions like acid-base combinations, density layering, and simple polymer chemistry don’t call for specialised glassware or ventilation systems, which is exactly why they work just as well at home as they do in a classroom.
How many chemistry experiments for kids should a beginner try first?
Three or four is a reasonable starting point. Starting small lets a child build confidence with basic lab habits, like measuring carefully, following steps in the right order, and writing down what they actually observe, before moving on to reactions that involve more variables, longer wait times, or trickier cleanup.
What does a school need for a CBSE STEM lab setup?
At minimum, a ventilated room, basic glassware, pH strips, safety goggles, and a supervised schedule. That’s often enough to run consistent activities all year, since CBSE practical exams focus more on procedure and observation skills than on expensive instrumentation, especially at the middle and secondary school level.