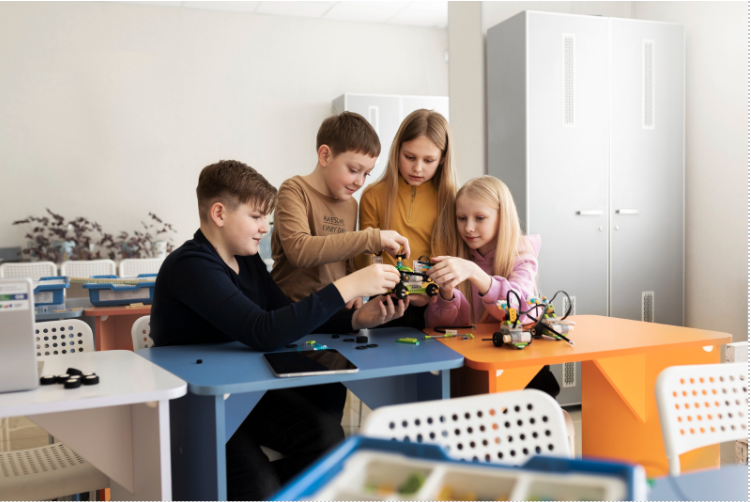
How To Build A Robot: A Step-By-Step Guide for Beginners
Building a robot might seem like something only engineers or scientists can do, but the truth is much simpler. A robot is just a machine that can sense what is happening around it, think using programmed instructions, and respond by acting. When you understand these three ideas clearly, building a robot becomes less scary and much more exciting.
In this detailed guide, you will learn what you need to know before starting, what tools and materials are required, how you can even build a robot using simple home materials, and finally, a complete step-by-step explanation of how to build your own working robot as a beginner.
What Do You Need to Know to Build a Robot?
Before you begin physically assembling parts, it is important to understand the basics behind how a robot works. You do not need advanced mathematics or complex engineering knowledge, but a clear understanding of a few fundamental ideas will help you avoid confusion later.
First, you should understand how basic electricity works. A robot runs on electrical power, usually from batteries. Electricity flows from the positive terminal of a battery to the negative terminal, powering different components along the way. If connections are loose or wires are placed incorrectly, the robot will not function properly. Knowing how to connect components safely and correctly is the first step toward success.
Next, you should understand that every robot has three main parts: sensors, a controller, and actuators. Sensors are like the robot’s senses. They help the robot detect things such as distance, light, temperature, or water. The controller acts as the brain. It reads the information from the sensors and makes decisions. Actuators, usually motors, carry out the action decided by the controller.
For example, imagine you are building an obstacle-avoiding robot. When the sensor detects a wall in front of it, it sends that information to the controller. The controller checks the program and decides to stop and turn. Then the motors rotate in a way that changes direction. This process happens within seconds.
Programming knowledge is also important. Even simple robots need instructions. You do not need to be an expert programmer. Learning basic concepts like conditions (if-else statements), loops, and variables is enough to begin. Programming gives life to the hardware. Without code, the robot cannot make decisions.
Finally, you need patience. Robotics is about experimentation. Sometimes the robot may not move. Sometimes it may move in the wrong direction. These moments are part of learning. Every mistake teaches you something new.
What Tools and Materials Do You Need to Build a Robot?


To build a proper beginner robot, you will need some basic components. The most important part is the controller board. Many beginners start with an Arduino Uno because it is simple, affordable, and widely supported. It allows you to write and upload programs easily from your computer.
Next, you need motors. DC motors are commonly used for wheeled robots. They help the robot move forward, backwards, and turn. However, motors cannot be connected directly to the controller because they require more power. That is why you need a motor driver module. A motor driver acts like a bridge between the controller and the motors. It allows the controller to manage speed and direction safely.
You will also need a chassis, which is the body of the robot. This can be a ready-made plastic or metal frame, or even something handmade using wood or acrylic sheets. Wheels are attached to the motors, and sometimes a small caster wheel is added for balance.
Sensors are essential if you want your robot to interact with its environment. An ultrasonic sensor can measure distance. An IR sensor can detect obstacles or follow lines. An LDR sensor can measure light intensity. A rain sensor can detect water droplets. These sensors help transform a simple moving robot into an intelligent one.
You will also need connecting wires, a breadboard for organising connections, and a battery pack to supply power. Basic tools like screwdrivers, wire cutters, and sometimes a soldering iron are helpful. A hot glue gun can be useful for fixing components firmly in place.
How To Make a Robot With Home Materials

If you do not have access to professional kits, you can still build a simple robot using materials available at home. This is a great way to start learning without spending much money.
For example, you can create a small vibrating robot using a toothbrush head, a tiny DC motor, and a battery. When the motor spins, it creates vibration. Because the toothbrush bristles are angled, the vibration causes movement. This simple experiment helps you understand how motion works.
Another idea is to build a basic wheeled robot using cardboard as the base. You can attach two DC motors on either side and use bottle caps as wheels. By connecting the motors to a battery through a switch, the robot will move forward when powered. Although this robot does not have intelligence, it teaches you about wiring and mechanical structure.
Building with home materials improves creativity. It teaches you that robotics is not just about expensive equipment. It is about understanding how parts work together
How Do You Build a Robot


Now, let us go through the complete process of building a beginner robot in detail.
The first step is planning. Decide what you want your robot to do. A good beginner project is an obstacle-avoiding robot. It is simple but introduces sensing and decision-making.
Once you know your goal, start assembling the chassis. Fix the motors securely to the base. Attach the wheels carefully so they rotate smoothly. Mount the controller board in a safe position, making sure it does not touch metal parts that could cause short circuits.
After assembling the physical structure, connect the motors to the motor driver. Then connect the motor driver inputs to the controller board’s digital pins. Make sure to connect the ground wires properly, as improper grounding can cause unstable behaviour.
Next, connect the ultrasonic sensor. It usually has four pins: VCC, GND, Trigger, and Echo. Connect VCC to the 5V supply, GND to ground, and the trigger and echo pins to digital pins on the controller.
Now comes programming. Open your programming software, such as the Arduino IDE. Write a simple program that measures distance using the ultrasonic sensor. If the distance is less than a certain value, stop the motors and turn the robot. Otherwise, keep moving forward.
Upload the program to the controller. Once uploaded, power the robot using batteries. Place it on the floor and test it carefully. If it detects a wall and turns away, your robot is working successfully.
If it does not behave correctly, check each connection slowly. Ensure wires are firmly attached. Verify that sensor readings are correct using debugging tools. Robotics requires patience during testing.
After successful testing, you can improve the robot. You can add LEDs for indication, a buzzer for sound alerts, or Bluetooth for remote control. Each addition increases your understanding.
Conclusion
Building a robot as a beginner is not about creating something complex immediately. It is about understanding the fundamentals of electronics, programming, and mechanical assembly step by step. When you understand how sensors, controllers, and motors work together, robotics becomes logical and manageable.
Start small. Build simple moving robots. Add sensors gradually. Improve your programming skills over time. Every project will increase your confidence and knowledge.
The most important thing is to begin. Once your robot moves for the first time, you will realise that robotics is not just technical. It is creative, educational, and incredibly satisfying.
Read More: Best Roblox games